Six Projects Completed
As promised, a ton of projects have all been completed around the same time (this week) and now its time to put down the soldering iron and actually document them so you can see what I have created. A total of 6 projects have been started and finished concurrently throughout these past few months, I am very happy with how they have turned out, but even I now need a break, so don't expect anything major for a while. Suffice to say, there will be a bunch of blog posts and multiple videos for each project uploaded here and to the channel throughout next week so look forward to those.
In the mean time, here are a few pictures of some smaller lab changes that have taken place.
First of all, the auxiliary monitor I use with my laptop has been upgraded to a 32in TV. Unfortunately the mount that came with it was a roof mount, so I made a small stand for it from wood and bolts. (A full picture of the lab with the screen will be in a later post)


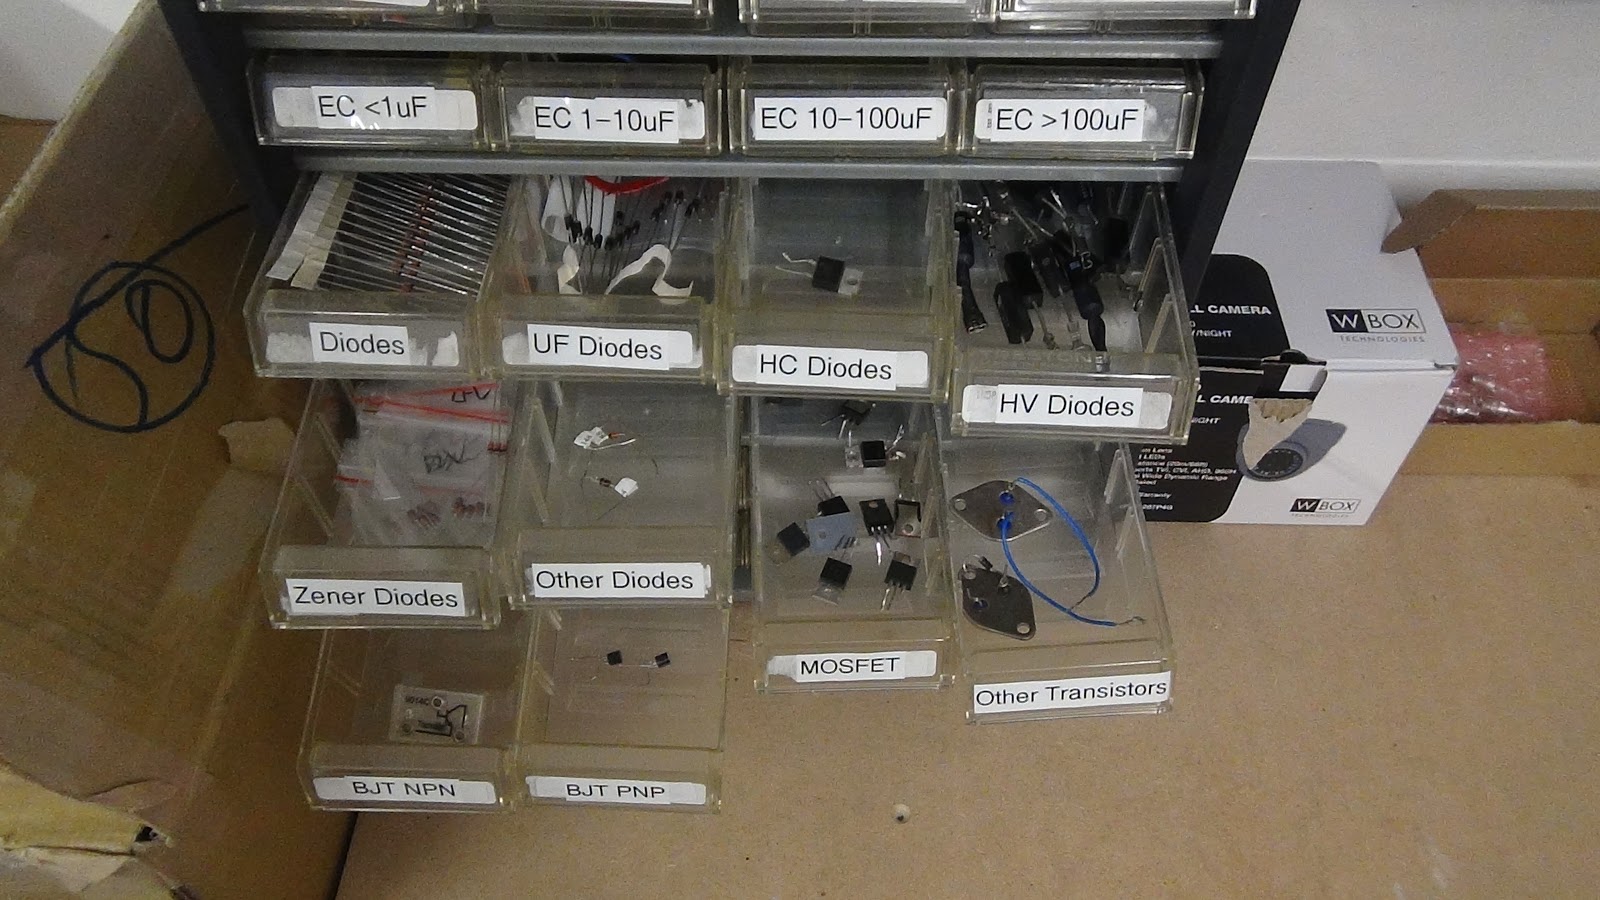
Now no electronics lab can be taken seriously unless it has a large supply of assorted components ready to use if a projects demands. I have never actually had components on hand before, if I needed a specific component, I would just buy it and wait for it to arrive. Needless to say, this made experimenting and prototyping very slow and tedious. So since I already now have empty component draws, I decided to fill them up by buying over a thousand resistors, a ton of different capacitors and some diodes. Luckily, components are extremely cheap so this didn't actually cost as much as you think. Finally, I got round to organizing these components, plus any extra I had from previous projects buy labeling the majority of the draws and categorizing everything according to their rating. This did take a long time but was well worth it as I can now access any value and type of capacitor, resistor and semiconductor in a split second.


Finally, I decided to decorate a little by purchasing some photo frames and putting the official building certificate up on the wall to emphases that the building is 100% council approved (as a reminder to the shenanigans we had during construction).
And of course, Tesla also had to be framed as he is a huge inspiration to me, hence the three Tesla coils that occupy the lab.(Which you can even unintentionally see in the reflection!!) (Although I need to get a better print out at some point, damn you stupid printer)
And for a final picture, the white board now clear, (a rare sight) as the project information is no longer needed as all the things I have been working on these past few months are complete! Just as some Chinese philosopher once said, "A white board is most useful when it is empty"
Just to be clear, 6 projects are now completed, so expect a ton of videos on the youtube channel (https://www.youtube.com/channel/UCbYNLXCvqlCoLev-WvJ37oQ/featured) and blog posts here all coming next week! Stay tuned.